
Pastel & Personalize Your Presents

I’m a sucker for letters. I love the look of a singular letter and thought it would be a great way to personalize my Christmas presents this year. I really like the way these pretty presents turned out. This is a Kelly-proof DIY which means it’s easy, painless and fun- a must for me these days.
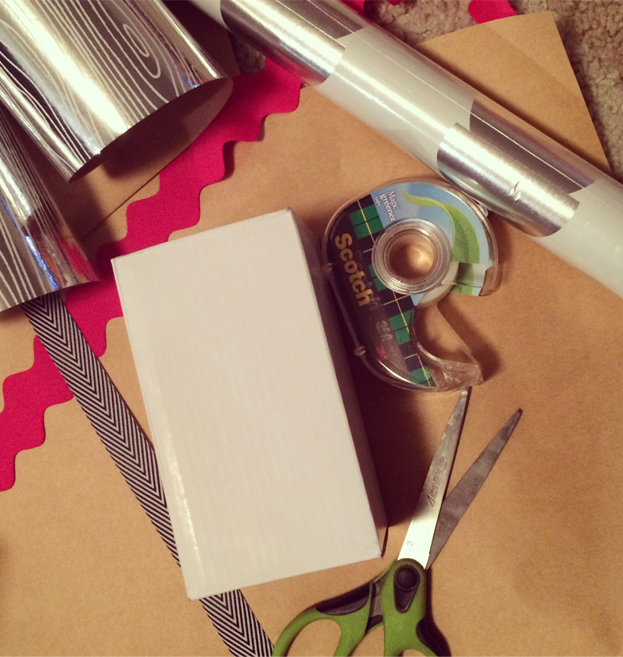
Here’s What You Need:
1. A cute roll of metallic wrapping paper (I picked up these faux bois and polka dot numbers at Target)
2. A colorful pop of ribbon and maybe a black and white striped one too (found at Paper Source)
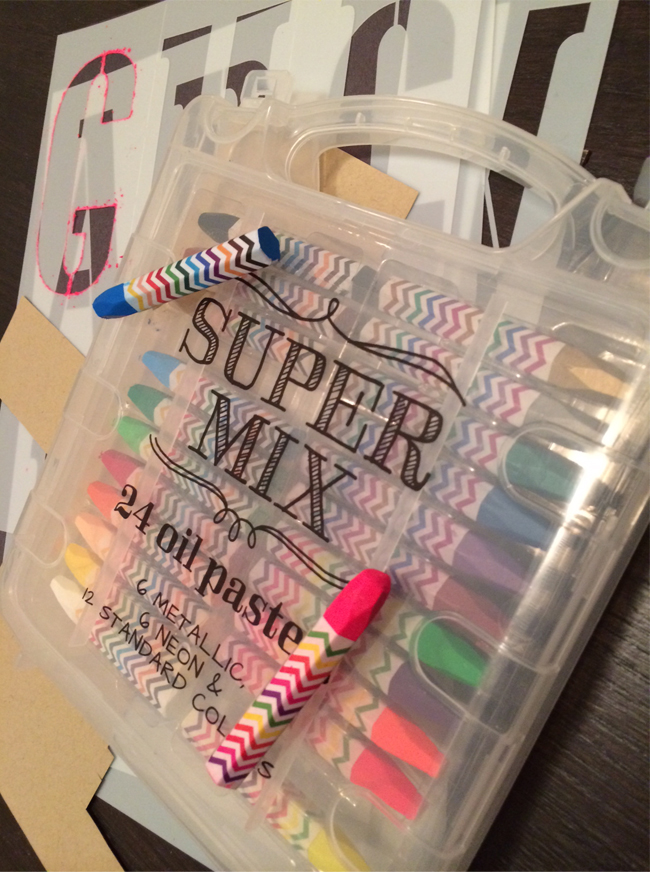
3. Stencil set (Paper Source)
4. Oil pastel crayons (Paper Source)
5. Self-adhesive label paper, you can buy this pre-cut in pretty shapes or just plain sheets that you can cut. I went for the natural brown paper, looks great against the metallic wrapping paper. (Paper Source)
6. Scissors and tape.
Here’s What You Do:
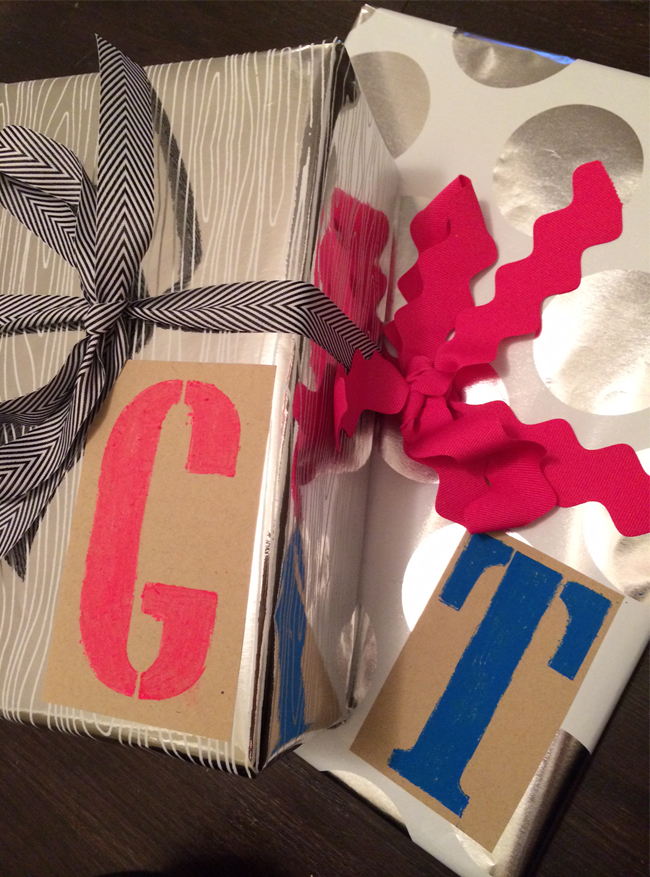
1. Wrap your present
2. Stencil the first or last initial or the recipient’s name on a sheet of label paper.
3. Cut out the stenciled label if you don’t have pre-cut labels.
4. Stick the stenciled label on your gift.
5. Tie a pretty ribbon around it.
6. Ta-to-the-Da! You may have a hard time giving this one up and seeing it ripped to shreds, but they’ll love it.
Related posts:


")


wow – that’s intimidating!! beautiful gift wrap and fun too.
What a great idea! Those packages look beautiful! And what a neat way to throw some creativity into wrapping presents.
Love it.
Thanks so much Bree! They were really fun and super easy.
So very pretty and clever!